How to Build an Exhibit in 18thConnect
Liz Grumbach
Texas A&M University, IDHMC
71
Exhibit Builder, A How-To
The 18thConnect Exhibit Builder is an
authoring tool that allows users to remix online content into essays, annotated
bibliographies and other formats. You can use it to workshop papers and
exchange ideas with your peers, or share it with the world wide web under
a Creative Commons License. All you need to begin is a free account
in 18thConnect, with which you can collect and tag items of interest from your
search results. You can manage these resources using your
My 18th page, along with saved searches, group membership,
discussions, and classrooms.

The arrow points to the needed link.
|
The Exhibit Wizard
|


At the lower right of your My 18th page, there is a section for Exhibits, with a link to Create A New Exhibit. This link will open up the 18thC Exhibit Wizard, which will guide you through the basics: creating a title, adding objects to cite, setting a custom URL, and even a thumbnail image.
|
Optional Step: Add Items Dialog Box
|

18thConnect objects work like bookmarks for peer-reviewed and primary resources within the site. Once your exhibit is set up, you will be able to link to documents outside of 18C as well, using the 'External Link' option.
Once you have completed the Exhibit Wizard, an empty template will appear on your screen. If you chose to upload your .docx file at the beginning of the process, then your content will be ready and waiting for you. It may need some extra formatting to fit the new template, so be sure to check all pages, links and footnotes.
Once you have completed the Exhibit Wizard, an empty template will appear on your screen. If you chose to upload your .docx file at the beginning of the process, then your content will be ready and waiting for you. It may need some extra formatting to fit the new template, so be sure to check all pages, links and footnotes.
|
An Empty Template
Click on the Header to Create A Header
|
An Empty Template
Click on the Drop Down Menu to Choose a Section Style
|


At the upper left of your screen is your Exhibit Palette, with icons representing the 18thC objects you've already associated with this exhibit. At the upper right is the Exhibit Profile, where you can edit the title, the CC License, the URL and thumbnail image. If you decide you want to share your work with a group, you can do that from the Exhibit Profile, as well.
|
Edit Palette Link
Edit the Selected Objects in the Exhibit
|
Edit Profile Link
Edit the Title, URL, Thumbnail, and Genres
|


The main portion of the screen is divided into sections. When you mouse over these sections, they are highlighted gray, and clicking on one of them will bring up a rich text editor for adding text. There are different kind of sections offered: text only, text with illustration, blockquotes and headers. These are the basic elements for styling your work in 18thConnect.
Every exhibit template offers 2 pages, with three sections on the first page. You can make a full exhibit with just one section if you like, or experiment with other options for showing pictures or linking to objects. If you'd like to delete a section from this page, simply click the red "X" at the upper right.
Every exhibit template offers 2 pages, with three sections on the first page. You can make a full exhibit with just one section if you like, or experiment with other options for showing pictures or linking to objects. If you'd like to delete a section from this page, simply click the red "X" at the upper right.
Next up: working with the text editor.
How to Build an Exhibit in 18thConnect
Liz Grumbach
Texas A&M University, IDHMC
74
The Text Editor
If you're working mostly with text, then the basic 'Text' section should provide all you need. Basic formatting options are provided (bold text, italics, underlined text, strikethrough) as well as a drop cap option that offers a little extra style for your essay. Ordered and unordered lists are also available as well as a link option (to both 18thConnect objects and other internet sites) and footnotes.
If you're working mostly with text, then the basic 'Text' section should provide all you need. Basic formatting options are provided (bold text, italics, underlined text, strikethrough) as well as a drop cap option that offers a little extra style for your essay. Ordered and unordered lists are also available as well as a link option (to both 18thConnect objects and other internet sites) and footnotes.
|
The Rich Text Editor
|

|
Setting Up an Internal or External Link
|
Adding Links
Engage the rich text editor by clicking on the relevant section in your exhibit. After entering text, highlight the word or phrase you would like to link elsewhere, and click the chain link icon at the upper left. This will engage a new dialog, showing the 18thC Objects you have collected and associated with the current exhibit. You may also click the All My Objects tab to peruse the rest of your collections for the link you need. If you're having trouble finding the item you need, this dialog offers a drop-down to sort your collections by Date Collected, Author and Title. You can also filter the objects by typing the title or author of the object into the blank on the right of this drop-down. |

|
Linking Outside of 18thC
Although 18thC objects are offered by default, you can also link to web pages and images on the World Wide Web. In the Set Link dialog, simply change the type of link to External Link, and paste the URL in the field below. Please keep in mind that URLs are subject to change, so links outside of 18thC may require more maintenance on your part in the future. |
Setting Up an External Link
|

|
|
When you've completed your exhibit and you're ready to share it, all you have to do is edit the profile and choose the sharing option you prefer. We recommend that you select a Creative Commons License at this point, to make sure you are credited for all your hard work.
|

Next up: adding images from 18thC
How to Build an Exhibit in 18thConnect
Liz Grumbach
Texas A&M University, IDHMC
73
Adding images from 18thConnect
|
Contrasted Husbands (1795)
Library of Congress
@
Print by Richard Newton.
|
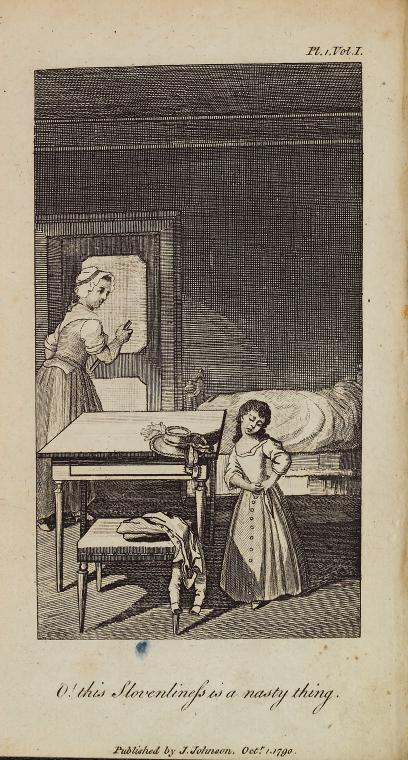
O! this slovenliness is a nasty thing (1791)
From the Before Victoria: Extraordinary Women of the British Era website
@
Engraved by Wilhelm L. Chodowiecki; Illustrated by William Blake.
|
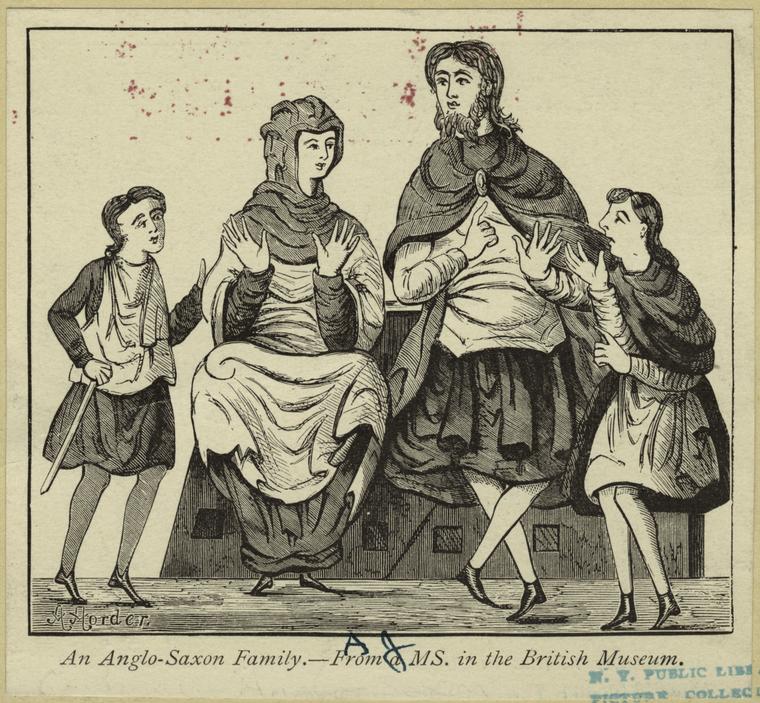
An Anglo-Saxon family (1839-1912)
NYPL
@
From <em>Virtue and Co.</em>
|

|
All of the images above can be found in 18thConnect through the search index. (If you do come to the site looking primarily for visual materials, you may find it helpful to browse, or target your search by genre such as Photograph or Visual Art.) In the course of your search, when you see images you would like to include in an exhibit, log in to your account (or sign up if you don't have one) and collect those objects. This works like a bookmark in your account - once you have collected an object, the authoring tool will automatically save the important information attached to it for later.
|
Click on "Collect" to begin saving objects of interest
|

|
|
Once you've created the template for your new exhibit, you have several options for inserting illustrations. The drop-down for each section includes:
In this way, you have control of the layout of your exhibit, section by section. |

|
Once you click to add an illustration to your section, a dialog will appear, with options for image captions at the top (as well as basic formatting for them) and a list of objects to choose from in the lower portion. If you have already added some images to the exhibit, they will appear (as they do in this image) under the 'Exhibit Palette', but it is more likely that this list will be empty for new users. Toggle over to 'All My Objects' to see a list of all the 18thC objects you have collected over time, and choose from among them.
Some long-time users of 18thC have a long list of collected objects, so we now offer a drop-down menu that allows you to sort the list by the date the objects were collected, by title or by author. Another, faster way to pinpoint a resource is to begin typing the title into the blank next to the sort drop-down, which will filter your list of objects until you find the one you seek. Once you have filled out the necessary information, click 'Save'. You can always click on the image to return to this editing dialog as you continue to work on your exhibit. |
The image dialog box
|

|
|
Once the dialog closes, you will see your new section, complete with illustration. It may appear as a very small thumbnail, so click on a corner and drag to re-size it as you like. Keep in mind, however, that some 18thC contributors restrict the image size they offer, so some images you use may appear pixelated and blurry when expanded beyond their original size.
You may also notice that one or both of your captions may be pre-populated with title or author information. We've designed the tool to offer users as much information about the objects as possible, but you can always click on the image to bring up the editing dialog and remove or edit the captions as you like. |

How to Build an Exhibit in 18thConnect
Liz Grumbach
Texas A&M University, IDHMC
Endnotes
1 Print by Richard Newton.
2 Engraved by Wilhelm L. Chodowiecki; Illustrated by William Blake.
3 From <em>Virtue and Co.</em>
Links
Page 1
"Creative Commons License" http://creativecommons.org/